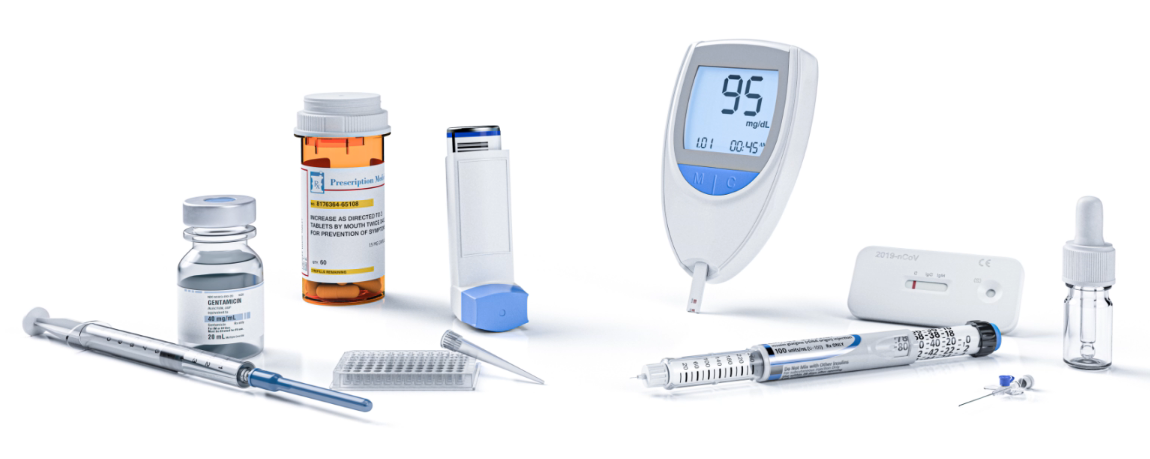
<span style='color:red'>ZEISS</span> Medical Industry Solutions Quality Assurance for Medical Plastics
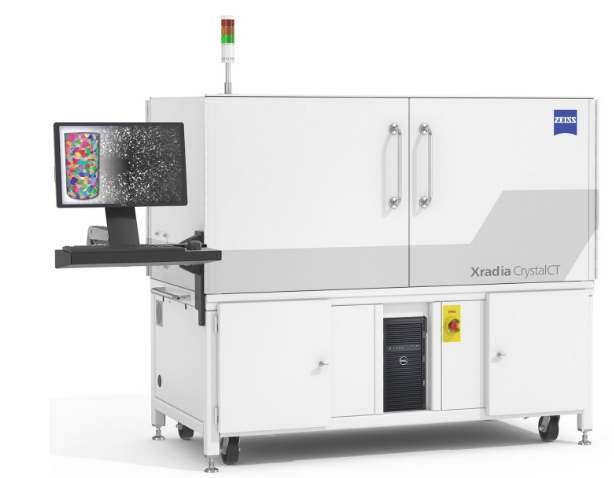
AMEYA360:<span style='color:red'>ZEISS</span> Xradia CrystalCT
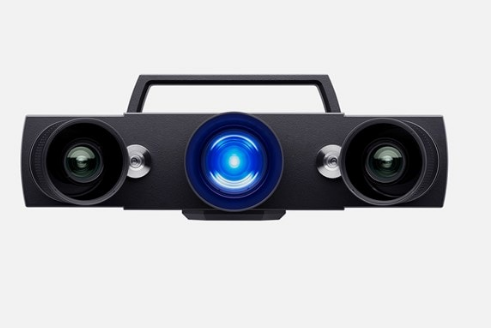
<span style='color:red'>ZEISS</span>:Industrial 3D Scanning Technology
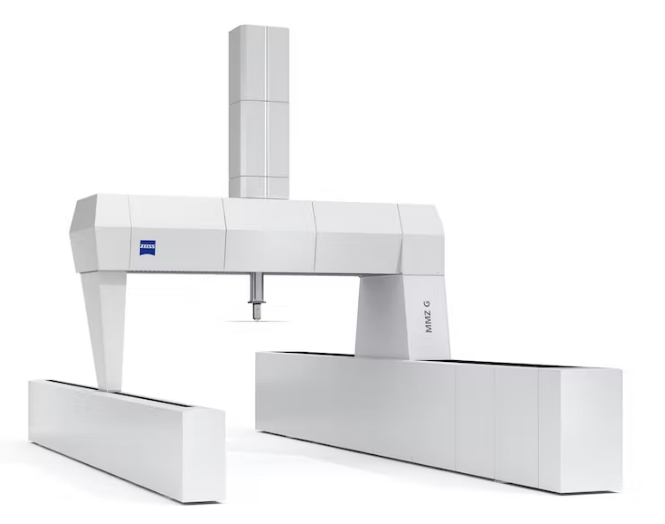
Grandly present Unparalleled Greatness <span style='color:red'>ZEISS</span> MMZ G
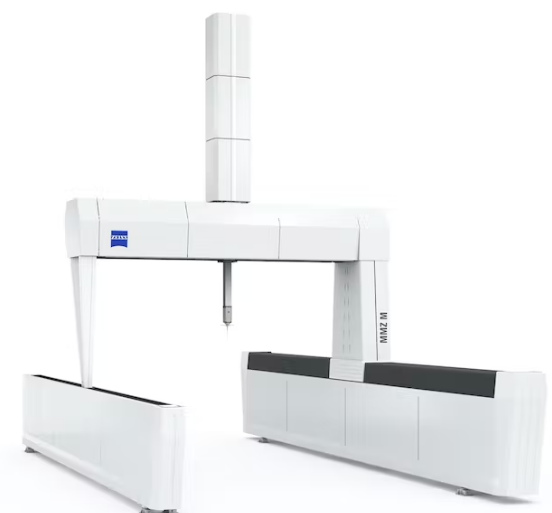
AMEYA360:For the Most Demanding Precision Requirements <span style='color:red'>ZEISS</span> MMZ M
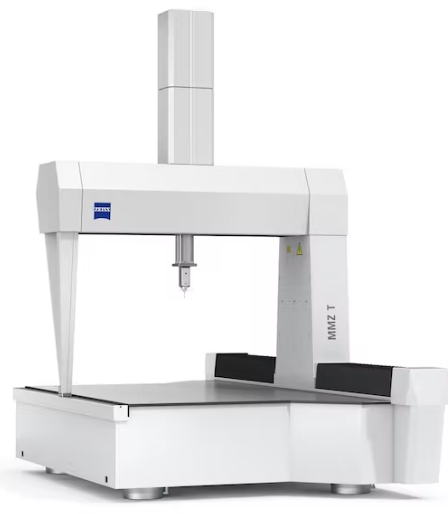
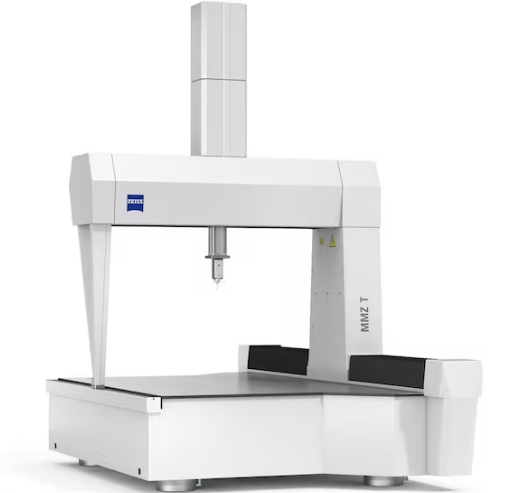
AMEYA360:<span style='color:red'>ZEISS</span> launches the <span style='color:red'>ZEISS</span> MMZ T
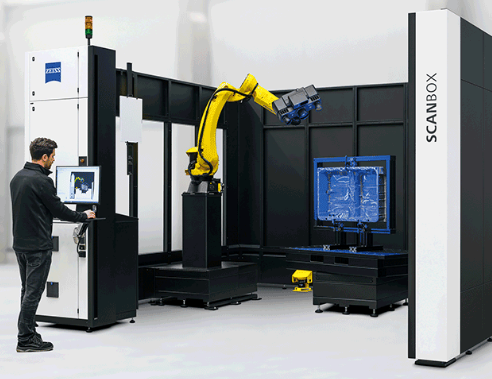
Ameya360:<span style='color:red'>ZEISS</span> launches the new <span style='color:red'>ZEISS</span> ScanBox 5 series
Ameya360:<span style='color:red'>ZEISS</span> introduces the <span style='color:red'>ZEISS</span> MMZ T bridge coordinate measuring machine suitable for large gear measurement
<span style='color:red'>ZEISS</span>:Reliable evaluation software for inline and atline X-ray inspection
  ZEISSAutomated Defect Detection (ZADD) software allows even the smallest defects in components to be detected reliably, quickly and automatically, so that even small and fuzzy defects to be evaluated.  In doing so, the Automated Defect Detection (ADD) software, also called Automated Defect Recognition (ADR) software, can be used not only for injection molded parts, but also for batteries and printed components (MED/AM).  ZEISS offers everything from a single source: with the complete ZEISS X-ray portfolio, you can use artificial intelligence (AI) in 3D computed tomography (CT) and 2D X-ray technology both inline and atline. ZEISS Automated Defect Detection software is compatible with all ZEISS computed tomography systems.]  Reliably detect defects in components  During the complex manufacturing process of components, different defects can occur. Especially inside, they are invisible to the naked eye and can have a major impact on the stability and functionality of the component. Artificial intelligence combined with industrial computed tomography or 2D X-ray technology makes these hidden problem areas visible, analyzes them and detects them at an early stage. The ZEISS Automated Defect Detection software specializes in the detection of different defects, so that defects can be detected quickly and reliably even in poor image quality with many artifacts.  Inline defect analysis in just 60 seconds  In order to be able to sort out defective components at an early stage in a value chain, the 3D data must be evaluated reliably and quickly during an inline inspection. In just 60 seconds, the ZEISS Automated Defect Detection analysis software reliably examines 4 billion voxels (3D pixels) for defects that are only a few voxels in size. Components with critical defects are thus accurately sorted out or, if possible, subjected to rework. Good parts, on the other hand, pass through the further machining process unhindered. The result: a lower reject rate and high component quality. In this way, you achieve a constant increase in efficiency and maximum process reliability with AI in CT.  Reliable evaluation  If the ZEISS Automated Defect Detection software detects a defect, the software evaluates it in terms of position, shape, size and type. For example, if pores are close to a surface that will be machined in the further process, they may pose a greater risk than elsewhere inside the component. The software is able to predict whether the defect may cause problems in subsequent machining steps. The component is then automatically rejected at an early stage. This saves you time and money. In addition, you can define in the ZEISS Automated Defect Detection software under which criteria a defect still meets the quality standards and when it is classified as critical. With ZEISS Automated Defect Detection, you get a solution that is tailored precisely to your requirements.  Clear reporting  If the ZEISS Automated Defect Detection software finds a critical defect in inline operation, it creates a report using the ZEISS PiWeb data management software. This gives you the opportunity to view and evaluate defects again afterwards in a 3D view. If your manual inspection leads you to the conclusion that the defect was caused by sand residue, for example, you can easily remove this source of defect and avoid unnecessary scrap. This results in high cost savings. The software also enables results to be displayed in tabular form and output in common formats such as csv.
Key word:
Release time:2023-01-03 11:10 reading:1561 Continue reading>>
Nikon, ASML and Carl Zeiss sign agreement to settle all litigation

Turn to

/ 1

  • Week of hot material
  • Material in short supply seckilling
model brand Quote
MC33074DR2G onsemi
CDZVT2R20B ROHM Semiconductor
RB751G-40T2R ROHM Semiconductor
TL431ACLPR Texas Instruments
BD71847AMWV-E2 ROHM Semiconductor
model brand To snap up
BP3621 ROHM Semiconductor
BU33JA2MNVX-CTL ROHM Semiconductor
STM32F429IGT6 STMicroelectronics
IPZ40N04S5L4R8ATMA1 Infineon Technologies
TPS63050YFFR Texas Instruments
ESR03EZPJ151 ROHM Semiconductor
Hot labels
ROHM
IC
Averlogic
Intel
Samsung
IoT
AI
Sensor
Chip
About us

Qr code of ameya360 official account

Identify TWO-DIMENSIONAL code, you can pay attention to

AMEYA360 mall (www.ameya360.com) was launched in 2011. Now there are more than 3,500 high-quality suppliers, including 6 million product model data, and more than 1 million component stocks for purchase. Products cover MCU+ memory + power chip +IGBT+MOS tube + op amp + RF Bluetooth + sensor + resistor capacitance inductor + connector and other fields. main business of platform covers spot sales of electronic components, BOM distribution and product supporting materials, providing one-stop purchasing and sales services for our customers.
Please enter the verification code in the image below:

verification code